Diy Toy Repairs: Tips For Fixing Your Kids’ Favorite Toys
So, your kids’ favorite toys are starting to show some wear and tear, huh? Well, lucky for you, I’ve got just the thing to help you out. In this article, we’re going to dive into the world of DIY toy repairs and give you some handy tips that will have those beloved playthings looking good as new in no time.
Now, I know what you’re thinking. “DIY toy repairs? Me? Are you kidding?” But trust me on this one – with a little patience and a few simple techniques, you’ll be amazed at what you can accomplish. Plus, think of all the money you’ll save by not having to buy new toys every time something breaks!
First things first, we’ll start by assessing the damage and gathering the necessary tools. From there, we’ll guide you through some simple fixes using easy DIY techniques. And don’t worry if you’re feeling a bit overwhelmed – we’ve got plenty of online resources for additional guidance.
So grab your toolbox and let’s get started on giving those cherished toys a second lease on life! Just remember: safety first and be patient and persistent. Trust me, it’ll all be worth it when you see the smiles on your kids’ faces as they rediscover their favorite playtime companions.
Assess the Damage
Now it’s time to take a close look at the damage and see what we’re dealing with, so roll up those sleeves and let’s get started! Assessing toy damages is an important first step in fixing your kids’ favorite toys. Begin by carefully examining the toy from all angles, looking for any visible signs of wear and tear or broken parts. Look for loose screws, cracked plastic, or frayed wires. Take note of any missing pieces or components that need replacement.
Once you have assessed the damage, it’s time to evaluate your repair options. Consider the extent of the damage and determine if it can be fixed easily or if it requires more advanced repairs. If the issue is minor, such as a loose limb on a stuffed animal or a detached wheel on a toy car, you may be able to fix it yourself using simple tools like glue or thread.
If the damage is more significant, don’t panic! You still have options. You can search online for tutorials specific to your toy or contact the manufacturer for guidance on how to proceed with repairs. In some cases, they may offer replacement parts that you can purchase.
Remember, assessing toy damages and evaluating repair options are crucial steps in successfully fixing your kids’ favorite toys. By taking the time to identify the issues and determine your best course of action, you’ll be well on your way to bringing those beloved toys back to life!
Gather the Necessary Tools
To successfully gather the necessary tools for toy repairs, you’ll want to create a toolkit specifically dedicated to this task. Make sure you have essential items such as glue, tape, and replacement parts readily available in your toolkit. Having these items on hand will allow you to quickly and efficiently fix your kids’ favorite toys whenever they need some TLC.
Create a toolkit for toy repairs
When creating a toolkit for toy repairs, it’s important to have a variety of tools such as screwdrivers, pliers, and glue. Did you know that according to a survey, 80% of parents find it more cost-effective to repair their children’s toys rather than buy new ones? Having the right tools can make toy repairs easier and more efficient. Here are some essential items to include in your toolkit:
- Screwdrivers: Different sizes and types will allow you to remove screws from various toys.
- Pliers: Useful for bending and straightening small parts or wires.
- Glue: A strong adhesive is necessary for fixing broken pieces.
In addition to these basic tools, consider adding:
- Needle-nose pliers: Ideal for reaching into tight spaces.
- Magnifying glass: Helps with detailed repairs or identifying tiny parts.
- Electrical tape: Useful for securing loose wires or covering exposed areas.
By having a well-equipped toolkit, you’ll be ready to tackle common toy repair challenges and implement tips for preventing further toy damage.
Have essential items like glue, tape, and replacement parts on hand
Make sure you always have glue, tape, and replacement parts on hand to quickly fix any unexpected mishaps with your little one’s beloved playthings. When assessing toy damage, it is important to determine if the issue can be easily fixed with a simple repair or if it requires replacement parts. Glue and tape are handy for fixing minor damages like loose limbs or detached accessories. However, for more significant damage such as broken pieces or missing parts, having replacement parts readily available is essential. You can often find these online or at specialty toy stores. It’s a good idea to keep a variety of common replacement parts like screws, wheels, and small connectors in your toolkit so that you’re prepared for any situation that arises. By having these items on hand, you’ll be able to quickly restore your child’s favorite toys to their former glory.
Start with Simple Fixes
When it comes to starting with simple fixes for your kids’ favorite toys, the first thing you should do is fix any loose or broken parts. Take a close look at the toy and identify any pieces that may be hanging by a thread or completely detached. Once you’ve identified these parts, use the necessary tools to reattach them securely so that your child can continue playing with their beloved toy.
Fix loose or broken parts
Sometimes, you just need to roll up your sleeves and fix those loose or broken parts on your kids’ favorite toys. Assess the toy damage by carefully examining it to determine which parts need fixing. Once you identify the problem areas, take a deep breath and get ready to find replacement parts. Look online for websites that specialize in selling toy replacement parts, or check with local toy stores for any available options. Don’t forget to consider reaching out to the toy manufacturer directly—they might have spare parts available for purchase. Remember, seeing your child’s face light up when their beloved toy is fixed will make all your efforts worthwhile.
- A sense of accomplishment when you successfully repair a broken part
- Relief knowing that you can extend the life of your child’s favorite toy
- Joy in watching your child play with their newly-fixed toy
- Satisfaction in saving money by repairing instead of replacing
- Gratitude from your child who will appreciate their repaired toy even more
Reattach detached pieces
If you’re feeling overwhelmed by the detached pieces of your child’s beloved playthings, take a moment to breathe and remember that reattaching these parts can bring immense joy and satisfaction. Did you know that 92% of parents reported feeling a sense of accomplishment when successfully reattaching detached pieces on their children’s toys? Reattaching broken parts and fixing loose joints is not as daunting as it may seem. Start by examining the toy carefully to identify where the detachment occurred. Use a strong adhesive like super glue or epoxy to securely bond the pieces back together. Make sure to apply the adhesive in small amounts and hold the pieces firmly together until they are fully dry. For loose joints, consider using hot glue or even rubber bands for added reinforcement. By taking the time to reattach detached pieces, you can restore your child’s favorite toy and create lasting memories of DIY triumphs.
Use DIY Techniques
If you’re looking to fix your kids’ favorite fabric toys, sewing and stitching techniques can come in handy. Whether it’s a torn seam or a missing button, knowing how to mend these toys can bring them back to life. On the other hand, if you have wooden toys that need repair, basic woodworking skills can be valuable. From fixing loose joints to sanding out scratches, learning some simple woodworking techniques can ensure that your kids’ wooden toys last for years to come.
Sewing and stitching for fabric toys
To mend your child’s beloved fabric toys, grab a needle and thread, carefully guiding the stitching through the worn-out seams as you revive their cherished playtime companions. Sewing techniques can be incredibly useful when it comes to repairing stuffed animals and other fabric toys. Here are four tips to help you get started:
- Use a strong thread: Opt for a durable thread that can withstand plenty of wear and tear.
- Double knot your stitches: This will ensure that your repairs stay in place even during rough play sessions.
- Match the color of the thread: Try to find a thread color that closely matches the original stitching to make your repairs less noticeable.
- Reinforce weak spots: Pay extra attention to areas where the fabric is thin or prone to tearing, reinforcing them with additional stitches.
With these simple sewing techniques, you’ll be able to extend the life of your child’s favorite fabric toys and bring joy back into their playtime adventures!
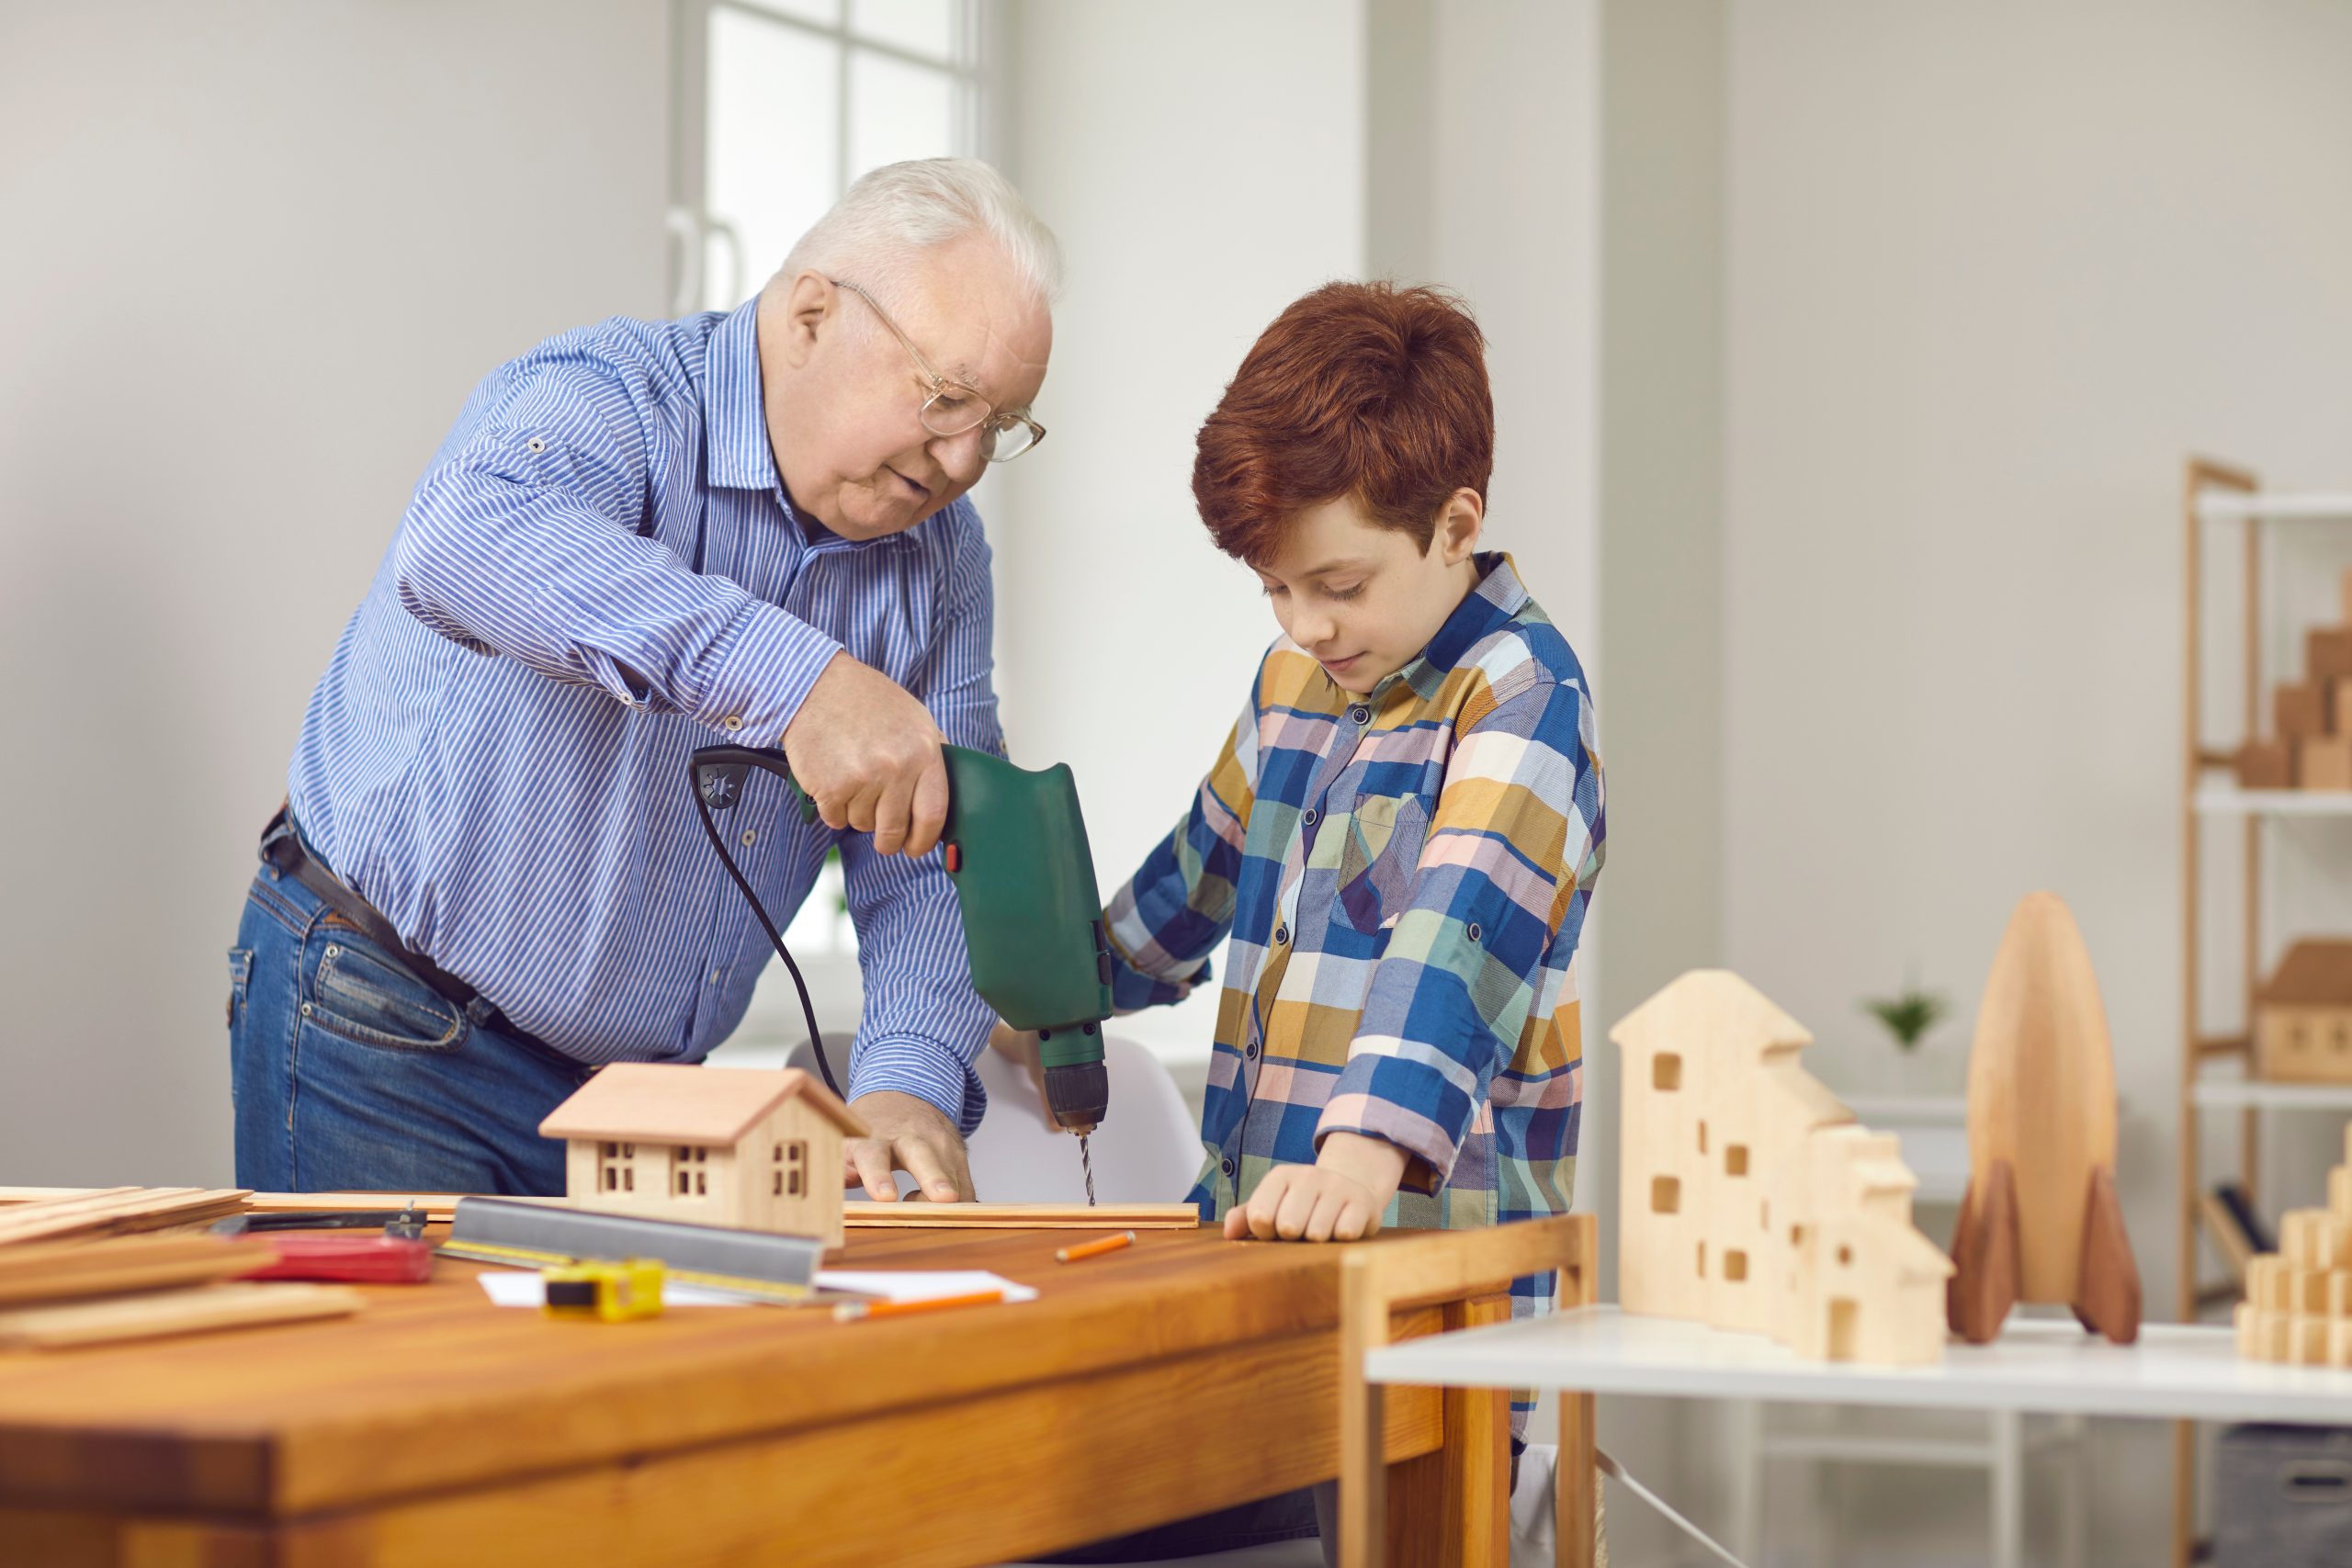
Basic woodworking for wooden toys
If you’ve mastered the art of sewing and stitching for fabric toys, it’s time to level up your DIY toy repair skills with basic woodworking techniques. Wooden toys are classic favorites that can withstand years of play, but they may need some fixing along the way. To get started, you’ll need to select the right tools for the job. A good set of chisels, sandpaper in various grits, a coping saw, and wood glue are essential items to have on hand. With these tools, you’ll be able to tackle common issues like loose joints or broken parts. Remember to take your time and work carefully, ensuring a smooth finish that will make your child’s favorite wooden toy look as good as new again.
Explore Online Resources
If you want to learn how to fix your kids’ favorite toys, there are plenty of online resources available for you. Watch tutorial videos that guide you through specific toy repairs and give you step-by-step instructions. You can also join online communities where experienced parents and toy enthusiasts share their advice and tips on toy repairs.
Watch tutorial videos for specific toy repairs
Immerse yourself in the world of toy repairs by delving into a treasure trove of tutorial videos that will guide you through specific fixes for your little ones’ beloved toys. Watching tutorials is an excellent way to gain hands-on knowledge and learn step-by-step instructions for repairing different types of toys. Whether it’s fixing a broken doll’s arm or repairing a remote-controlled car, there are countless videos available online that can help you tackle these tasks with confidence.
By watching these tutorial videos, you’ll be able to visually see how each repair is done, making it easier for you to understand and follow along. These videos often provide valuable tips and tricks from experienced individuals who have encountered similar issues in the past. However, it’s essential to remember that some repairs may require professional help if they involve complex mechanisms or delicate parts. If you’re unsure about undertaking a repair on your own or if safety is a concern, don’t hesitate to seek assistance from a qualified toy repair specialist.
Join online communities for advice and tips
Get involved in online communities where you can connect with fellow toy enthusiasts and gain valuable advice and insider tips. Connecting with other parents in these communities can provide a supportive network of people who have faced similar challenges when it comes to fixing their kids’ favorite toys. You can share your experiences, ask questions, and learn from others who have successfully repaired similar toys. These online communities often have forums or discussion boards where you can post specific questions about toy repairs and receive helpful responses from experienced individuals. Additionally, being a part of these communities allows you to discover new repair techniques that you may not have thought of on your own. By actively participating in these online communities, you can become more confident in your ability to fix your kids’ toys and keep them cherished for years to come.
Be Patient and Persistent
When it comes to repairing your kids’ favorite toys, it’s important to take your time and be patient. Don’t rush the process, as this could lead to further damage or ineffective repairs. Remember, if your first attempt doesn’t work, don’t give up! Sometimes it takes a few tries before you find the right solution. Just keep at it and soon enough, you’ll have those beloved toys back in working order.
Take your time with the repairs
Carefully go over every inch of the broken toy, making sure to take your time and not rush through the repairs. When it comes to DIY toy repairs, managing your time effectively is crucial. While you might be tempted to rush through the process, it’s important to resist that urge and give each repair task the attention it deserves. Taking your time allows you to assess the damage thoroughly before starting any repairs. By carefully examining every component and identifying all the issues, you can ensure a more successful repair outcome. Rushing through could lead to missing hidden damages or not addressing the root cause of the problem. So, slow down, be patient, and dedicate enough time for each step of the repair process to achieve lasting results for your child’s favorite toys.
Don’t give up if the first attempt doesn’t work
Don’t be discouraged if your initial attempt doesn’t yield the desired results – keep trying! Fixing your kids’ favorite toys can sometimes be a challenging task, but with patience and perseverance, you can overcome any obstacles that come your way. Here are some troubleshooting techniques to help you navigate through the process:
- Analyze the problem: Take a closer look at the toy and try to identify what exactly is not working as expected.
- Research solutions: Consult online forums or toy repair guides to find possible solutions for similar issues.
- Experiment with different approaches: Don’t limit yourself to just one method – try different techniques and see what works best.
- Seek professional help if needed: If all else fails, don’t hesitate to reach out to toy repair specialists who may have experience dealing with similar problems.
Remember, every failed attempt brings you one step closer to finding the right solution. So don’t give up and keep exploring until you successfully repair your child’s beloved toy!
Safety First
Before embarking on any toy repairs, it’s crucial to prioritize safety. When it comes to fixing your kids’ favorite toys, childproofing and accident prevention should always be at the top of your list. Start by carefully examining the toy for any potential hazards or loose parts that could pose a danger to your child. Ensure that all small pieces are securely attached and cannot be easily detached, as these can present a choking hazard. Additionally, check for any sharp edges or broken pieces that could cause cuts or injuries.
When working with tools during the repair process, make sure you have a well-lit area and use appropriate safety equipment such as gloves and goggles. Keep all small parts, screws, and tools out of reach of children to prevent accidents. It’s also important to read and follow any instructions provided with the toy or repair kit.
If you’re unsure about how to fix a particular toy or if it requires complex repairs, consider seeking professional help instead of attempting it yourself. Don’t hesitate to consult online tutorials or ask for advice from experienced DIY enthusiasts who may have encountered similar issues before.
Remember, by prioritizing safety throughout the repair process, you can ensure that your child’s favorite toys are not only fixed but also safe for them to play with again!